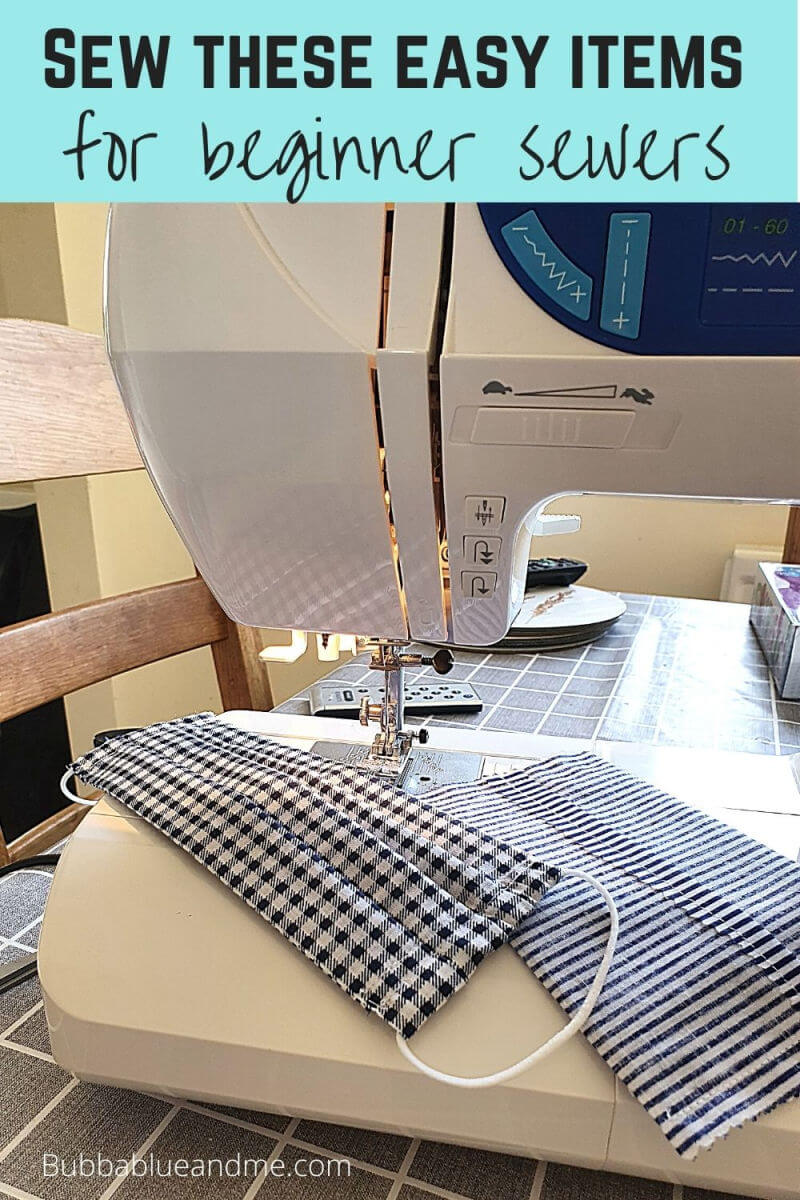
How to sew a fabric book cover
I’m a big fan of fat quarters. As a beginner sewing machine user, they’re manageable and it’s fast to make small pieces, rather than havin too much fabric or patterns to deal with. So I’m always on the look out for easy makes to practise my skills and make little gifts. This time I decided to sew a fabric book cover.
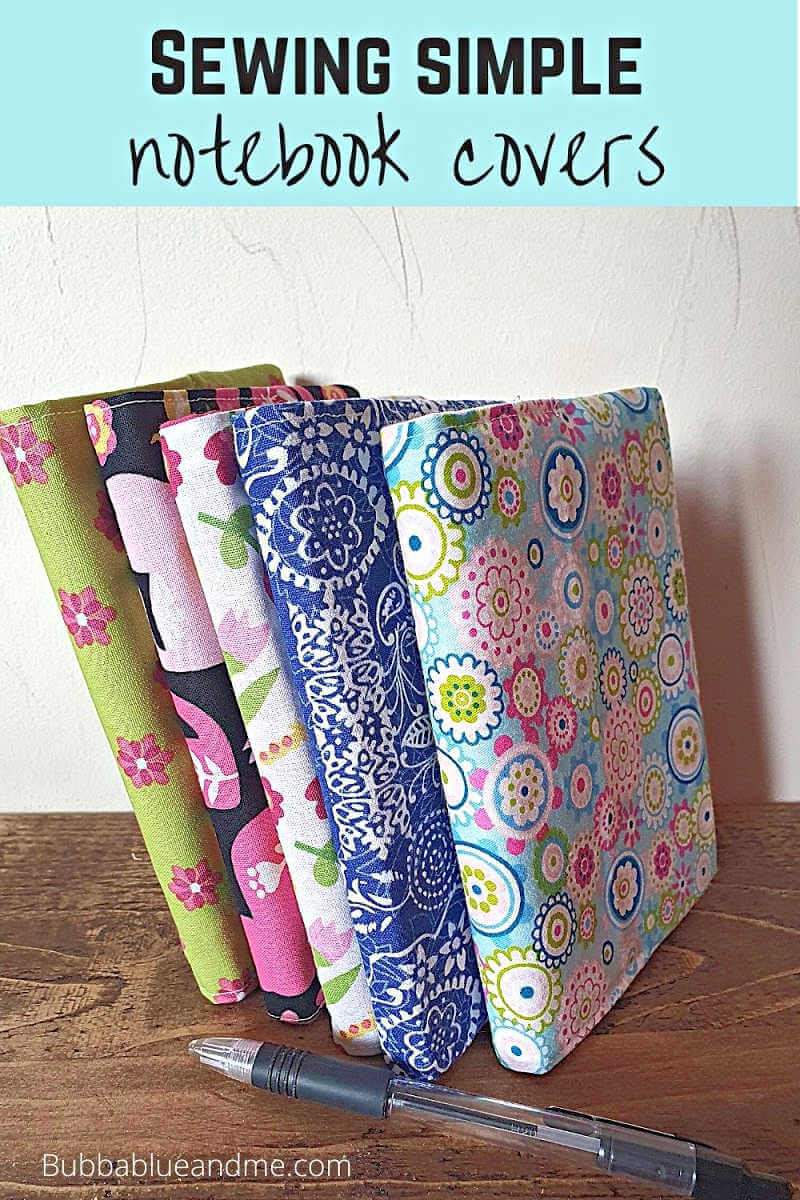
My best friend’s made these in the past – she makes a lot of them, then sells them on for school fund-raising. I think they’re great for children to give to friends, for stocking gifts, or just if you want to pretty up your own stationery.
If you can’t sew, you can make fabric notebook covers by gluing them, but sewing is so much nicer, and you can always just change the notebook when it’s full, and reuse your cover.
*Ad-contains affiliate links
I tend to batch the jobs for these if I’m doing a few at a time. So I’ll cut everything out, then iron, then sew. The tutorial I used had a lot of extra ironing and turning inside out, before I ended up sewing the edges in the wrong way. So don’t make that mistake. Hopefully my tips will help explain that part better. I also top stitch all the way over top and bottom edges when stitching in the gap, but you don’t need to do that. I just like how it neatens it off.
How to sew a fabric book cover
Materials
Material for cover and lining, same colour or coordinating. I use fat quarters – one should do a book unless you want different materials for lining and cover.
Notebook – I use hardback A6 notepads* and buy in packs of 10. You can use paperbacks but the covers might not stay on as easily.
Fusible interfacing – light or medium weight
Matching thread*
Pins or sewing clips*
Fabric scissors or cutter
Sewing machine
Iron
To sew the fabric book cover
1, Measure your notebook from front edge over the spine and to the back edge. Then top to bottom. You’ll need to add 3-4 inches for the length and 1 inch for the width to allow for the seam allowances. Mine ended up needing 14 x 17 inches.
2. Cut your material x 2 pieces (one for lining, one for the cover) and 1 of the interfacing to that size.
3. Iron the interfacing onto the wrong side of your cover material.

4. Put your cover and lining material wrong sides together and stitch the 2 short sides together, leaving the top and bottom (lengths) open.

5. Turn the 2 pieces back out the correct way, and wrap around your notebook, with even overhang on all sides. Fold the sides in, and crease around the edges and spine so you know where you’re folding / sewing. You can pin, mark or iron (I find pinning too hard when you turn it back inside out again).


6. Turn the cover inside out again and using the creases or marks, fold the edge inside to create the fold where the book will go in and pin or clip. I tend to do this then wrap it around the notebook again just to make sure they’re all lined up and even.


7, Sew along the top and bottom lengths, leaving a gap in the middle to be able to turn it back out the right way.


8, Turn the cover back the right way through the gap you left, making sure the corners are pushed all the way out nice and sharp. Iron to flatten and keep in shape.

9, Close the gap shut. You have different options. You can hand sew a blind stitch to shut it. Or even use a strip of fusible applique to put inside and iron shut. I prefer to top stitch along the top and bottom to close the gap – make sure you only sew from and to where the sides fold in, otherwise you’ll struggle to get the notebook inside.

10, Iron the cover again to remove any creases and slot the notebook inside the cover.

The sky’s the limit with these covers. Get seasonal with Christmas fabric, use fun animal fabrics or vehicles for young children, for journals try stationery themed, or use fabric most appropriate for the person you’re giving the books to. Or just pimp up your own notebooks. Buying pretty notepads can be so expensive, so these could work out much cheaper for you, especially if you reuse the covers.

You can just adapt these to fit any notepads, just make sure you’re adding the extra 1 inch top and bottom, and 8 inches to the length (4 either side). 3 inches should be fine for smaller notebooks, but stick with 4 for larger pads.
We’re going to give some of my fabric covered notebooks for end of year teacher gifts, as a small token gift.
What do you give as teacher gifts? Have you tried sewing these notebook covers?
Like this post, try these other tips for nearby days out.